
If your phone is not responding when plugged in, the problem is rarely just one thing.
It can come from a charging cable problem, a dirty or damaged charging port, weak power sources, battery health degradation, iOS glitches, overheating, or even hidden liquid damage. In some cases, even a newly replaced battery will fail if the installation or calibration is wrong. This guide breaks down every real cause behind a Fix an iPhone That Not Charging issue and shows practical steps like lightning port cleaning, testing adapters, force restart, DFU restore, wireless charging checks, and fast charging solutions.
You will also learn when the problem is hardware-level and needs a technician from a repair shop like iRepair Mobiles Solihull.
Table of Contents
Before We Start: Why Your iPhone Actually Stops Charging
Most people assume the phone is dead. That is wrong. In real repair cases, the issue is usually one of these:
- Weak or damaged wall outlet or no electricity flow from socket
- Worn out charging cable problem or broken adapter
- Blocked charging port full of lint or dust
- iOS glitch affecting charging recognition
- Battery protection kicking in at low battery health
- Overheating causing charging pause
Apple’s own diagnostic guidelines confirm that hardware and accessory issues are the most common causes, not full device failure.
Step 1: Check Your Charging Cable and Adapter
A huge number of “dead iPhones” are actually just bad cables.
Look closely for:
- Bent or broken Lightning connector
- Frayed USB cable or exposed wires
- Burn marks on adapter pins
- Loose connection at port
- Cheap third-party accessories causing failure
Quick Test Table
| Component | What to Check | Result |
|---|---|---|
| Cable | Fraying, bends | Replace if damaged |
| Adapter | Heat, smell | Unsafe if overheated |
| USB Port | Loose fit | Try another source |
If the cable or adapter is even slightly damaged, stop using it. It can permanently damage charging components.
Step 2: Try a Different Power Source
A lot of users ignore this and waste hours.
Try:
- Different wall socket (make sure plug socket switched on)
- USB port on laptop or desktop
- Another USB wall adapter
- Charging from a power bank
Sometimes the issue is just a dead electrical outlet or weak USB port. This is basic but often overlooked.
Step 3: Clean Your iPhone Charging Port Properly
This is the most common real-world issue.
Your lightning port cleaning process should be safe:
- Use a wooden toothpick or soft brush
- Shine flashlight into port
- Remove lint or pocket debris
- Avoid metal tools completely
Common findings in repair shops:
- Pocket dust packed tightly
- Crumb buildup from bags and handbags
- Corroded pins from moisture exposure
Even a tiny blockage can prevent charging completely.
Step 4: Check for Liquid Damage
Water damage is silent but destructive.
Signs include:
- Charging only sometimes works
- Device warms up unusually
- “Liquid Detected” warning appears
- Corrosion inside port
If liquid entered the phone:
- Turn it off immediately
- Do not charge for 24 to 48 hours
- Keep in a dry ventilated area
Apple confirms liquid exposure can permanently damage electrical components if power is applied too early.
Step 5: Force Restart Your iPhone
Software glitches can block charging detection.
Try this:
- Press Volume Up
- Press Volume Down
- Hold Side Button for 20–30 seconds
- Wait for Apple logo
This resets temporary iOS errors affecting charging detection.
Step 6: Fix Software Issues and iOS Bugs
A broken update can mess up charging behavior.
Check:
- Go to Settings → General → Software Update
- Install latest iOS version
- Restart after update
Apple updates often fix hidden software issues related to battery management and charging.
Step 7: Overheating Protection (Hidden Reason)
If your phone feels warm, it may stop charging automatically.
- Charging may pause at 80%
- Screen may show temperature warning
- Device becomes slow or stuck
Let it cool before charging again. iPhones are designed to limit charging when internal temperature rises.
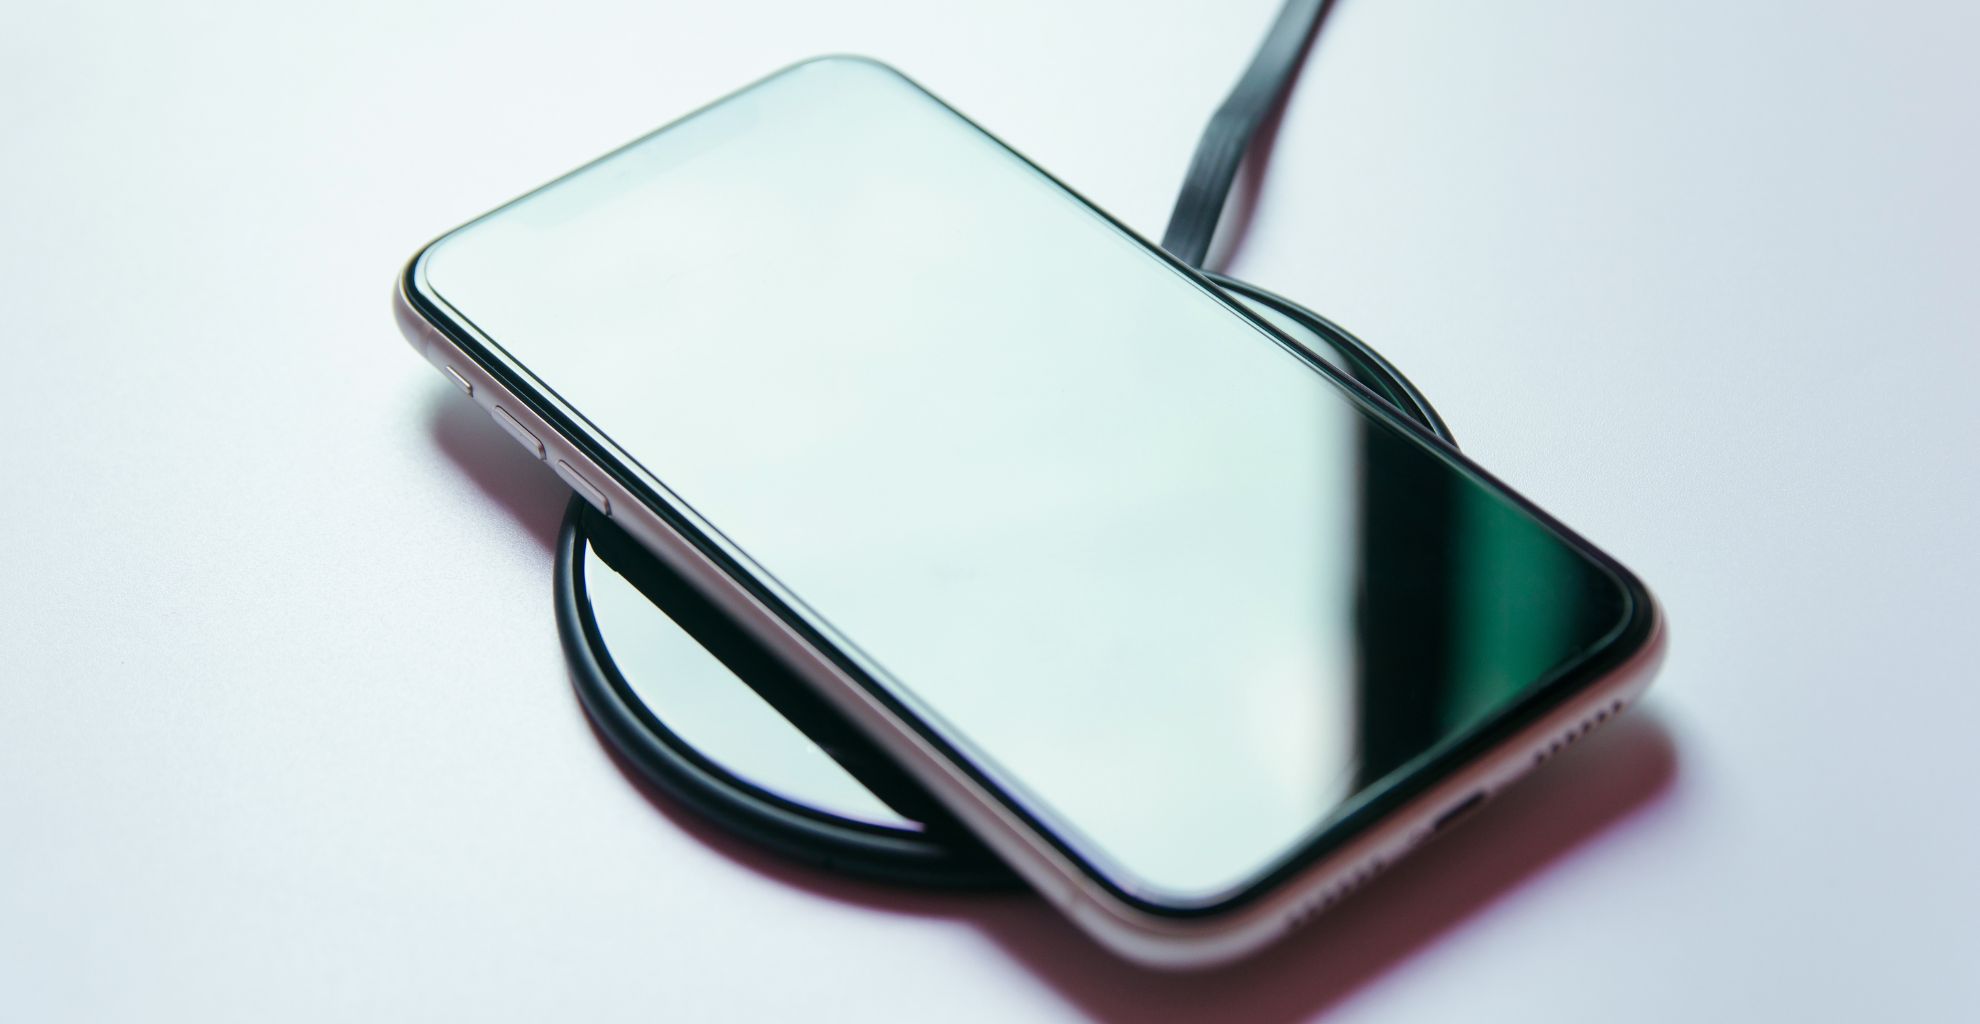
Step 8: Wireless Charging Test (Qi Standard)
If wired charging fails, try wireless charging:
- Use Qi-certified charger
- Remove thick case
- Place phone centered on pad
If wireless works but cable does not, the issue is clearly inside the charging port or lightning connector system.
Step 9: DFU Mode Restore (Advanced Fix)
DFU Mode helps when iOS is deeply corrupted.
It can fix:
- Charging detection failure
- System-level battery bugs
- Failed updates
But warning: this wipes the device. Only use if you are comfortable with restore process.
Step 10: Battery Health or New Battery Not Charging
Even newly replaced batteries can fail.
Check:
- Battery installed by accredited technician
- No warning in Battery Health settings
- No swelling or overheating
If charging still fails:
- Faulty battery
- Poor installation
- Logic board issue
Step 11: When Nothing Works
At this point, it is hardware failure:
- Damaged charging IC
- Faulty logic board
- Deep water damage
- Broken charging dock circuit
This is where DIY ends. Apple Support or a specialist repair center is required. Apple and authorized technicians use diagnostic tools to confirm exact failure points.
Common Causes vs Fixes Table
| Problem | Symptom | Fix |
|---|---|---|
| Cable damage | No charge | Replace cable |
| Dirt in port | Loose connection | Clean port |
| Software bug | Random charging | Update iOS |
| Overheating | Stops at 80% | Let cool down |
| Liquid damage | Intermittent charge | Dry + repair |
Mistakes You Must Avoid
- Never use metal objects in port
- Never use hairdryer on wet phone
- Never force cable into port
- Never ignore liquid warnings
- Never use cheap uncertified chargers
These mistakes often turn a small issue into full motherboard failure.
Final Expert Insight for Fix an iPhone That Not Charging
In real repair cases, most Fix an iPhone That Won’t Charge issues are not serious. Around 70% are caused by debris inside the port or faulty cables. Another chunk comes from software glitches and overheating protection.
Only a small percentage are actual hardware failures, but those require professional repair tools.
If you are stuck and tried everything above, a technician diagnosis is the only logical next step. A proper repair shop like iRepair Mobiles Solihull can test charging circuits, replace ports, and confirm battery or board level faults quickly.

